1. Create an Organization
The first step is setting up an Organization. This acts as the primary workspace where team members are managed and projects are hosted. Once the organization is created, it serves as the central hub for all data operations.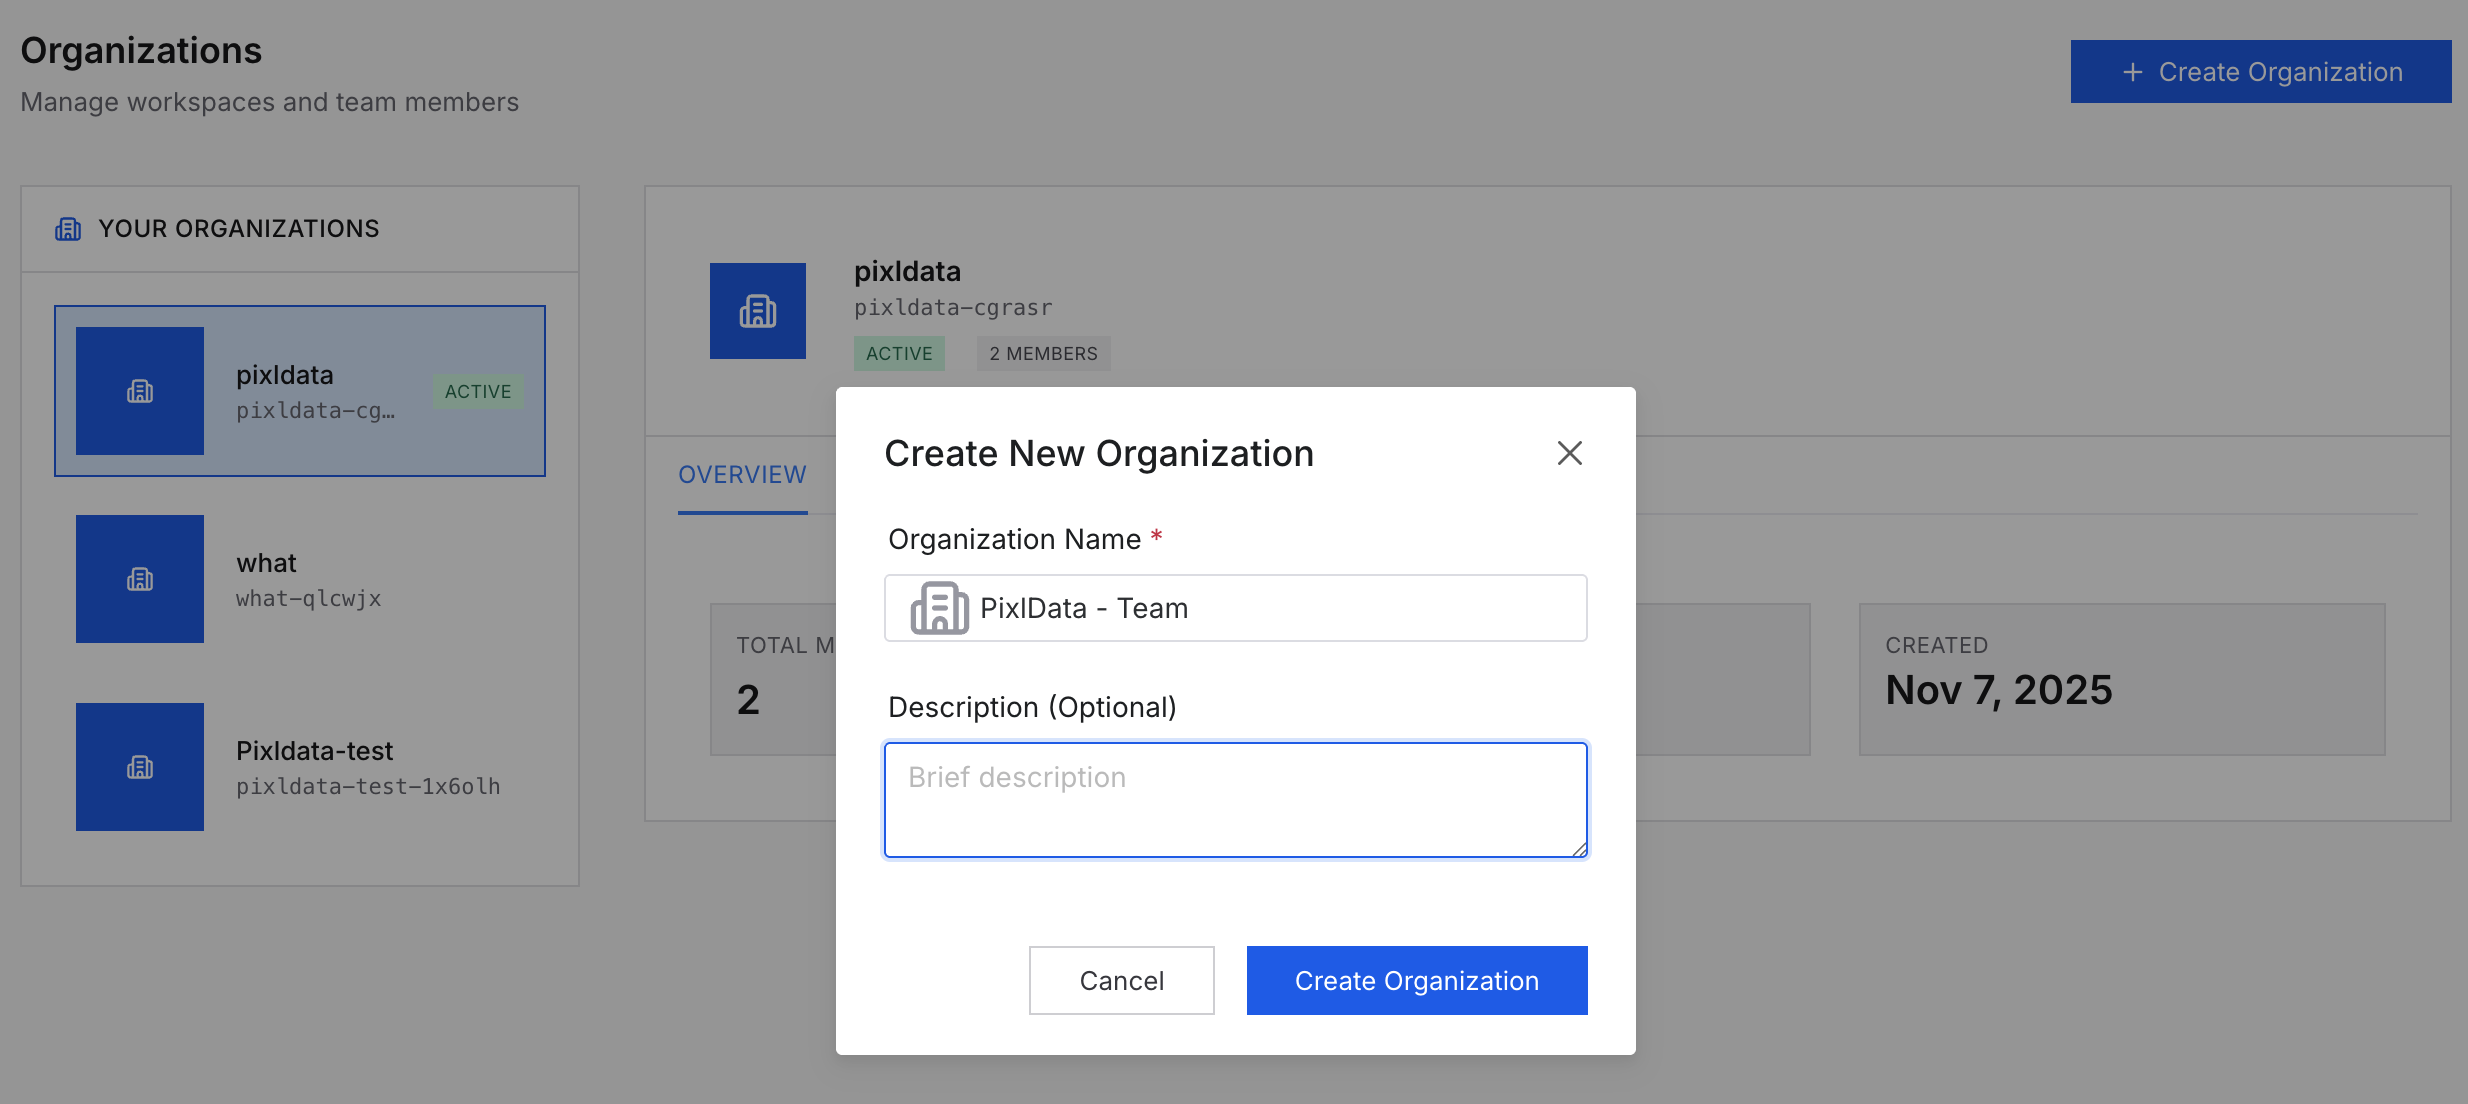
2. Setup a Project
Inside the organization, create a new project to define the workspace:- Tool Type: Choose the primary format (Image, Video, or Text).
-
Ontology: Define the classes (e.g., “Vehicle”) and attributes (e.g., “Color”) that will be used for labeling.

3. Import Data (Assets to Tasks)
PixlHub simplifies the workflow by automatically converting uploaded files into actionable tasks.- Default Import: When raw files (Assets) are uploaded, PixlHub automatically creates tasks for them and places them in the Label status.
- Prelabel Import: If existing annotations are being migrated into PixlHub, they can be imported into the Prelabel status for further refinement.
4. Start Labeling
There is no need to manually assign work. When a user clicks “Start Labeling” on the project dashboard, PixlHub automatically assigns the next available task from the queue to that user.5. Task Lifecycle
Each task moves through a specific lifecycle based on its current progress. Understanding these four statuses is key to managing the project:- Prelabel: Reserved for imported data that already contains initial annotations.
- Label: The default starting point. Tasks in this status are in the queue, waiting to be picked up and labeled by a user.
- Review: Once a user submits their work, the task moves to this status. It indicates the task is labeled but requires manager approval.
- Complete: Tasks that have passed the review process and are finalized. These are ready for export.
Need help? See our documentation or join our Slack channel.