
Cuboids annotate perspective on flat images. For true 3D boxes on point clouds, that is the LiDAR editor’s territory with a dedicated project type.
Draw a cuboid
1
Arm the class and pick the tool
Press the class hotkey, then click the cuboid icon in the floating palette.
2
Two clicks for the front face
Click one corner of the object’s front face, then the opposite corner, exactly like the two corners of a bounding box.
3
One click for depth
Move toward the object’s receding direction; the preview extends the depth edges. Click to set the depth point.
4
Enter to finish
Enter completes the cuboid, and it joins Object Instances like any other annotation.
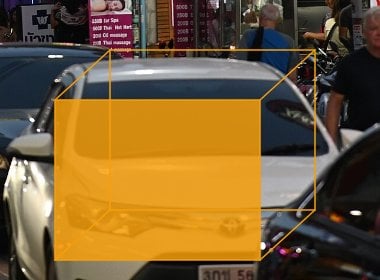
A finished cuboid on a sedan: filled front face, wireframe depth edges following the car's orientation.
Getting the geometry right
- Front face on the visible face. Put the rectangle on the surface facing the camera (a car’s front or rear); the depth edges then follow the body naturally.
- Depth follows the vanishing direction. Drag depth along the object’s real-world axis, using lane lines, shelf edges or building lines as perspective references.
- Edit like everything else. Select the cuboid and its handles expose both face corners and depth for adjustment; reclassify with a hotkey, delete with Del, undo per operation.
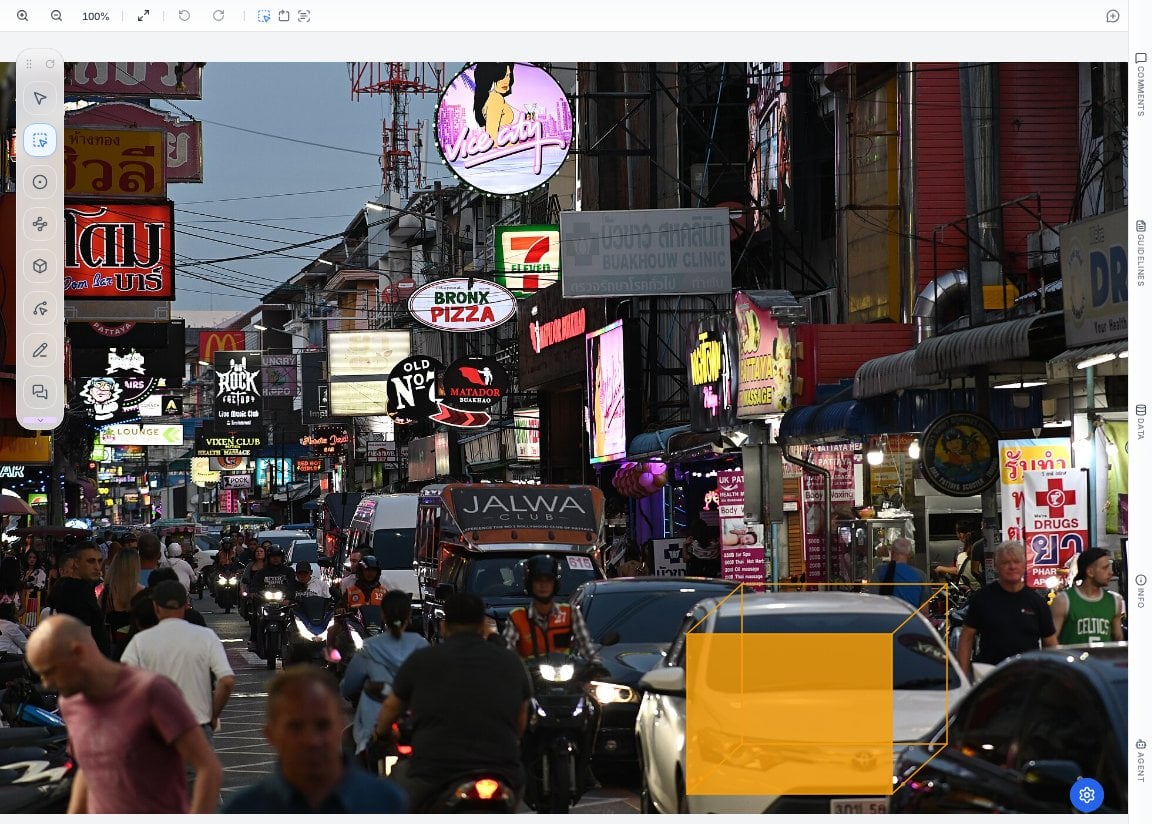
The cuboid in scene context: perspective encoded that a flat box cannot express.
When cuboid beats box
Frequently asked questions
Is this real 3D data?
Is this real 3D data?
It is perspective-annotated 2D: a front face plus a projected depth, in image coordinates. Genuinely metric 3D comes from LiDAR projects, where annotation happens in a point cloud.
How do cuboids export?
How do cuboids export?
With their full geometry (face and depth points), alongside other annotation types; downstream code reads them as eight-point projections. See Exports.
Next steps
Bounding Box
The flat sibling, for when pose does not matter.
Image annotation editor
The full tour of tools and panels.