
1
Open the dialog
Go to Projects and click New Project (also available from the Dashboard’s Quick Actions).
2
Name and describe it
The name appears everywhere your team works, so favor descriptive over clever: “Street Scene Detection” beats “CV-Test-2”. The description is optional but shows on the project header, a good place for one sentence about scope.
3
Pick the tool type
This selects the editor for every task in the project:
4
Create
PixlHub provisions the project with a default workflow (Label, then Review, then Done) and opens the project overview.
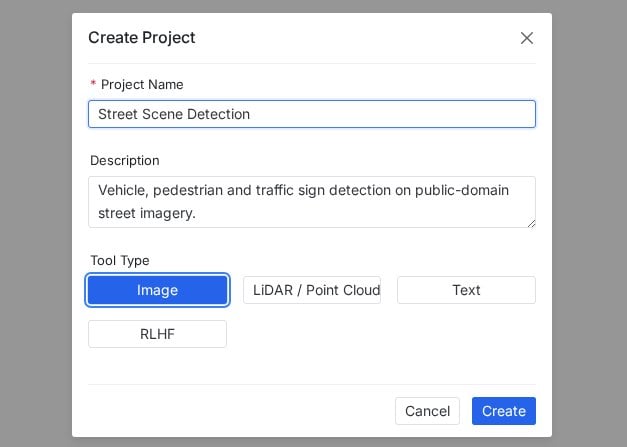
The Create Project dialog: name, optional description, and the tool type that determines the editor.
What a new project contains
Straight after creation you land on the project header with nine tabs. You will touch three of them before any labeling happens:- Label Schema, to define your classes before anyone draws a shape.
- Assets, to upload the data; each asset automatically becomes a task.
- Workflow, already running the default Label, Review, Done pipeline, editable when you need more.
Naming conventions that age well
Teams running many projects converge on the same pattern: what the data is plus what the model needs, for example “Retail Shelf Audit” or “Highway LiDAR, Q3 batch”. Status words in names (“final”, “new”, “v2-fixed”) rot within a week; the workflow and task statuses already track state for you.Next steps
Define the label schema
Classes, colors, hotkeys and attributes, before the first annotation.
Upload assets
Formats, limits, batches, and what happens after upload.